How To Paint, Oil Or Varnish A Victorian Staircase

We have oil on the top landing!
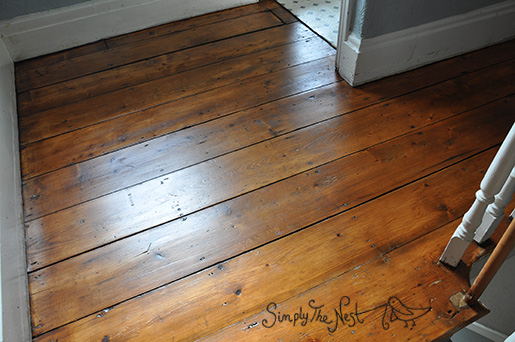
Not usually a cause for celebration, having oil all over your floor, but when you've been labouring painstakingly over your lead-paint layered stairs since July, this is a major achievement. Especially since we've easily logged 250 hours working on these stairs, and it was only really the last 2.5 hours work in applying the three coats of Osmo Polyx oil that actually made it look good (we use Amber 3072).
I'm particularly loving the transition between the top landing and the guest bedroom - up until now we've had little pockets of prettiness hidden behind three bedroom doors while the rest of the house enjoys its original 80s decor, so it's exceptionally pleasing to see it start slowly spreading outwards.

As a reminder, here's how the top landing looked before we got started - so not loving the airport lounge carpet, or the revolting underlay dust.
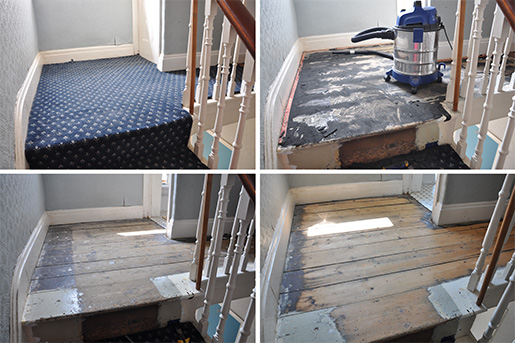
And here's how things are looking on the first landing. From this:
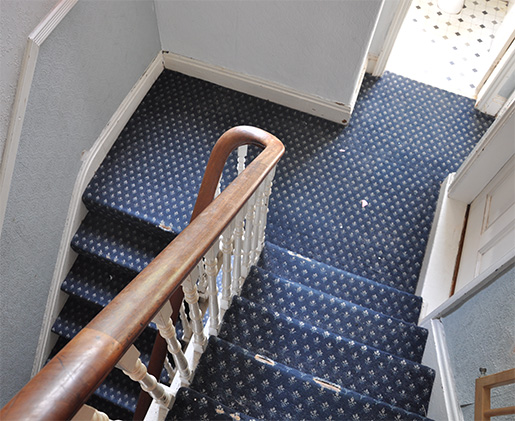
To this (you can also see the step up into Natalia's room):
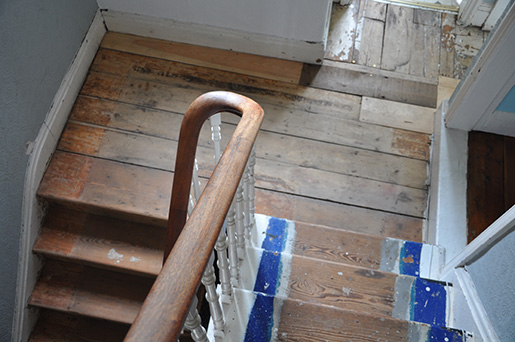
And currently to this:

The first landing has had its first coat of Osmo Tinted Polyx Oil in Amber 3072, leaving one plank bare as a walkway to get to the bathroom and continue up the stairs. We've removed the lead paint from the second flight of stairs, but haven't sanded it yet.
Here's where we've been doing most of the work - the first staircase from the hallway to the first landing pictured above. We've scraped off every last teeny tiny piece of lead paint from the treads, risers and decorative edges, leaving the hallway looking like this:
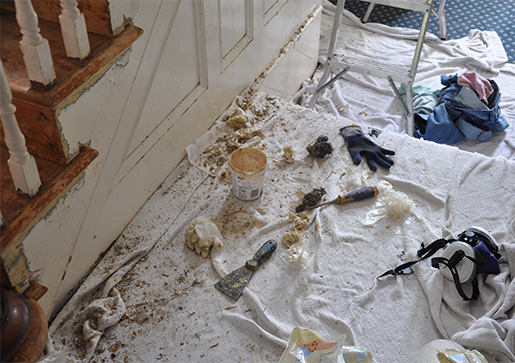
All that remained was to get them sanded, but this is not something that can be done with children in the house, so when our friends offered to look after me, Eva and Natalia for the day while Andre got busy with the Makita sander, I loaded the kids into the car faster than Penny and Enrique move when someone accidentally drops a piece of Brie. A spot of timely vomiting from our friends' kid put paid to my plans for curling up on their comfortable sofa with a nice mug of coffee while our respective cherubs shared their toys nicely at my feet, but I pressed ahead regardless and managed not to return until quarter to six in the evening - all three of us dishevelled, filthy and wild-eyed after a treasure hunt in Heaton Park, winter boot purchasing at the Trafford Centre (ON A SATURDAY AFTERNOON WITH TWO KIDS BY MYSELF WHAT WAS I THINKING) and duck feeding at Fog Lane Park - to find the stairs, which had previously looked like this:

Were now looking like this:
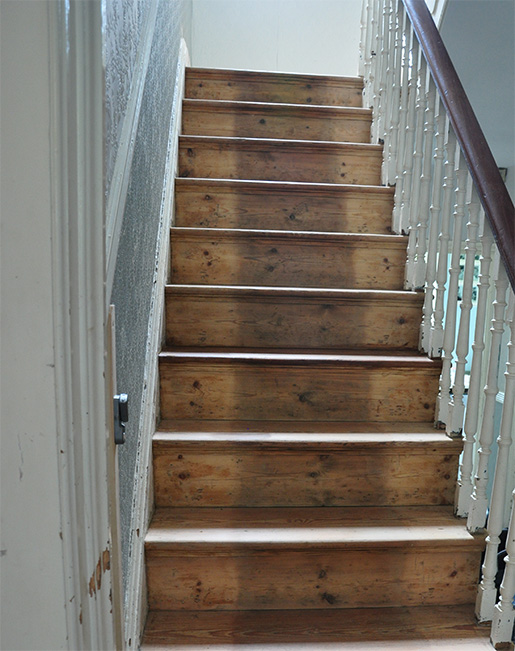
Beautifully sanded (Andre did a cracking job), but with a great big shadow right down the centre that proved completely impervious to sanding, scrubbing, bleaching, more Home Strip... it's where the runner used to be, but how it has permeated so deeply into the wood, we have no clue. The only solution has been to use the tinted Osmo oil to gradually build up several layers of carefully blended colour - more on the sides, less in the centre. Here's how things are looking right now:
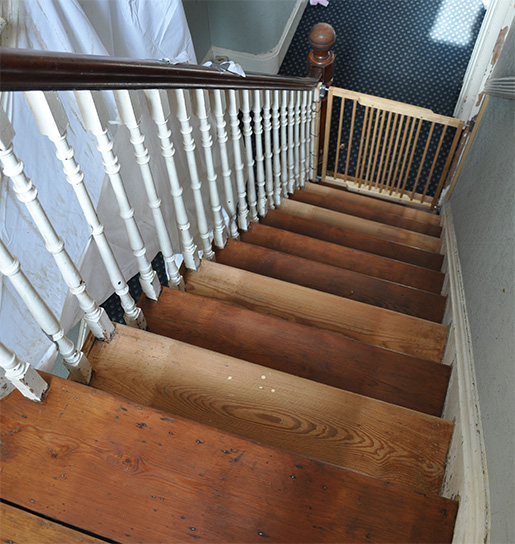
If you're wondering how to paint, oil or varnish a staircase without accidentally imprisoning yourself at either the top of bottom of it until the paint dries, the simple answer is to paint (or oil, in our case) all the risers but only finish alternate treads. Mark the treads where you can walk with a sticker or post-it note, and then go back and finish them 24 hours later, swapping the stickers to the now-dry steps. Of course, depending on the age, agility or general fitness of your household, certain inhabitants (small children and dogs etc) may have to be borne lovingly up and down the obstacle course in your arms.
One final before and after - one of the treads 'before', paint bubbling away under its Home Strip poultice:
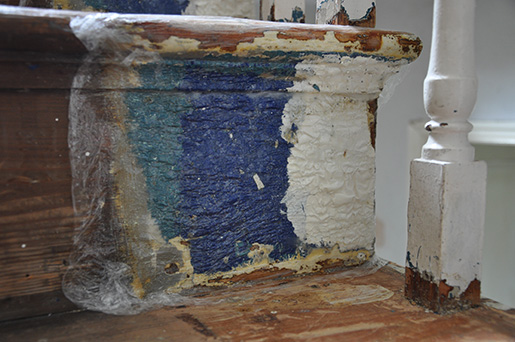
And lovingly coated with oil.
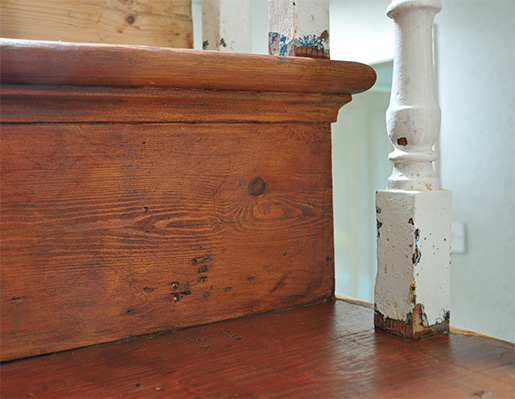
You can see that this is not pristine wood - even after being sanded, it still has dings and dents caused by thousands of people walking, running and leaping up and down the stairs for over 130 years. But these imperfections just make them all the more perfect to us.
You can see more before pictures of the stairs here, and read about how we're removing the lead paint here.